
Referee Review
Why was this decision made?
See the key points from a referee’s perspective
Show explanation
Referee Review
Why was this decision made?
See the key points from a referee’s perspective
Show explanationHow the footage and Laws apply
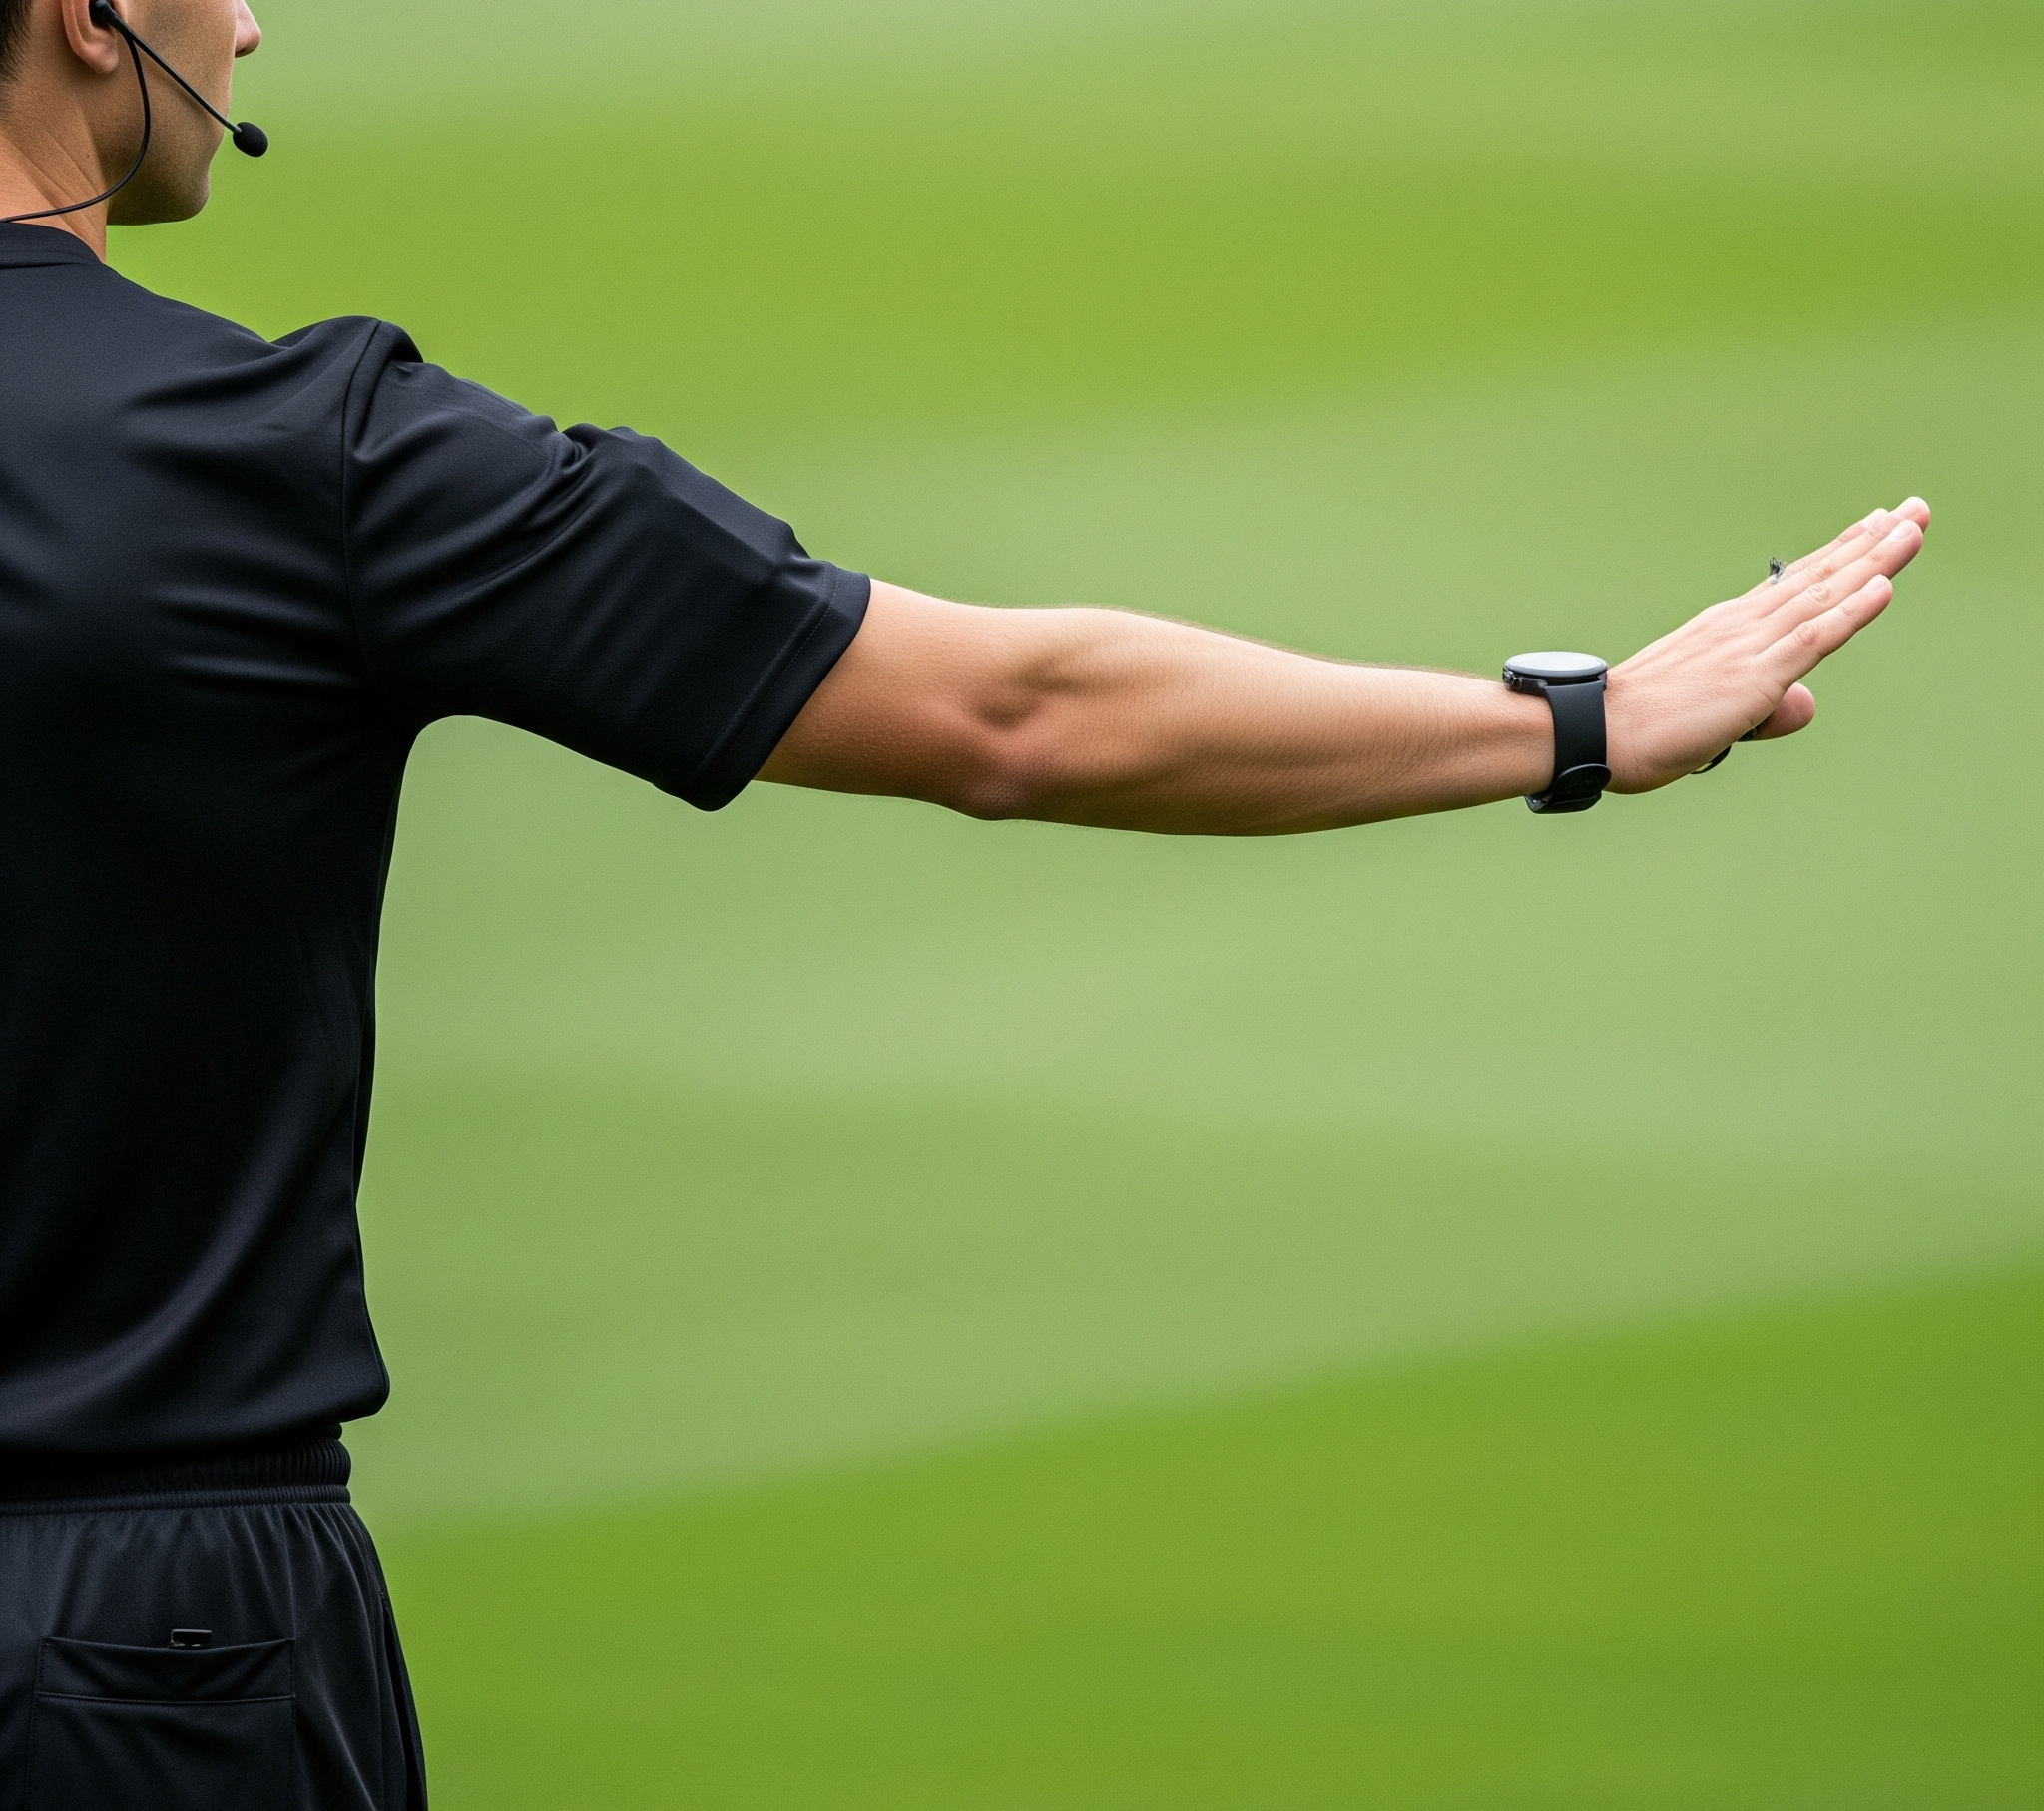
Look at the referee's running and positioning, and at the signal given after the decision. The referee kept up with Hiroshima's excellent counter-attack with excellent running of their own. The footage also shows, however, that Cerezo Osaka players were working hard to get back and defend. Many of those recovering Cerezo players blocked the referee's line of sight, making it difficult to keep a clear view. Even so, it can be seen that the referee was constantly looking for a position that gave a clear view while running. When Hiroshima's No. 23 dribbled in and went down after contact with a Cerezo player, the referee correctly judged that there was no foul. The referee's body language showing that there was no foul was also clear, which was likely a very easy signal for players, coaches and spectators to understand.
Relevant Laws
Law 5 - The Referee (Positioning) / Law 12 - Fouls and Misconduct / Law 6 - The Other Match Officials (Assistant referees)
Official references
Check the wording of the Laws
The links above lead to official IFAB and JFA resources. The application of the Laws to this incident is the author’s analysis and is not an official view of IFAB, JFA or the competition organiser.
Want to test your understanding of this decision?
Build confidence with more Laws of the Game questions in the app.
Try more questions in the appRelated Scenes
![[No Foul / VAR Intervention] An on-field review of contact between a goalkeeper and an attacking player, with no offence given | 2025 J1 League Matchweek 26 Sanfrecce Hiroshima vs Gamba Osaka](https://i.ytimg.com/vi/SxYRNe8U198/hqdefault.jpg)
[No Foul / VAR Intervention] An on-field review of contact between a goalkeeper and an attacking player, with no offence given | 2025 J1 League Matchweek 26 Sanfrecce Hiroshima vs Gamba Osaka
![[Positioning] The referee's running on a counter-attack, and the assistant referee keeping the line with side-steps | 2026/27 J1 League Matchweek 4 Kawasaki Frontale vs JEF United Chiba](https://i.ytimg.com/vi/lvqnuZMbj_Q/hqdefault.jpg)
[Positioning] The referee's running on a counter-attack, and the assistant referee keeping the line with side-steps | 2026/27 J1 League Matchweek 4 Kawasaki Frontale vs JEF United Chiba
![[Positioning] The referee and assistant referee dividing responsibilities on a counter-attack, with the right flank left to the assistant | 2026/27 J1 League Matchweek 6 Fagiano Okayama vs Sanfrecce Hiroshima](https://i.ytimg.com/vi/BE4mYzb67zI/hqdefault.jpg)